-
Created by
 BlakBat, last updated on Sept 01, 2026
2 minute read
BlakBat, last updated on Sept 01, 2026
2 minute read
Required tools
Git is the tool used to update nwsync files. The command lines to execute will be given below, but you can also use a graphical client such as TortoiseGit instead.
The second thing needed is a GitLab account.
GitLab project configuration
- Create an account on GitLab if you do not already have one: https://gitlab.com/users/sign_up
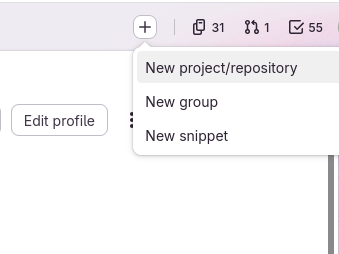
- In the top-right corner, you should see a + sign. From the dropdown, select "New project/repository".
- From the new page, select "Create blank project". More documentation can be found here: https://docs.gitlab.com/user/project/
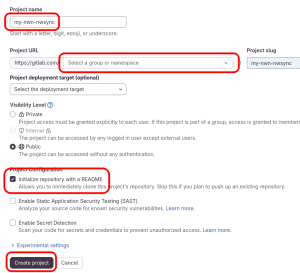
- Choose a project-name, and a visibility level.
Initial project configuration
The purpose of this part is to clone an existing project, and then merge this project into your project.
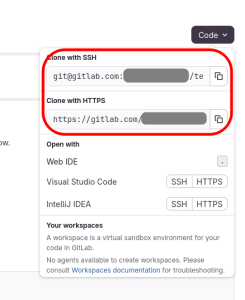
- From a folder of your choice on your computer, clone the project on your computer, either with command-line, or TortoiseGit. The repository URL is in the dropdown black "Code" button. If you do not have a ssh-key, or don't know what it is, select "Clone with https"
- In another directory, which is not a sub-directory of where you cloned the repository above, clone the project https://gitlab.com/nwn.ovh/nwn-gitlab-nwsync
- Copy all the directory and sub directory contents from this new folder into the folder you cloned in the previous section. Keep the folder hierarchy.
- (git add / commit initial commit, and push)
- (configure deploy/pages)
Caveats
- There is a 10gb limit per repository on GitLab. For this reason, it's advised to always
git amendyour last commit in order to rewrite the history and not make the repository grow in size.