-
Created by
 Palmweaver about 5 hours ago
7 minute read
Palmweaver about 5 hours ago
7 minute read
This is the workflow provided by Palmweaver for importing animations. Other tools may work too, but this method is proven to work.
Tools:
Blender 4.0 (Version is important for Neverblender plugin)
Neverblender (Available on the vault - neverblender_40-010)
Rokoko Studio Live Blender plugin. (or any decent retargeter for blender, Rokoko's is just free with signup)
You will need Blender 4.0 installed, and both of the plugins listed above to copy this workflow.
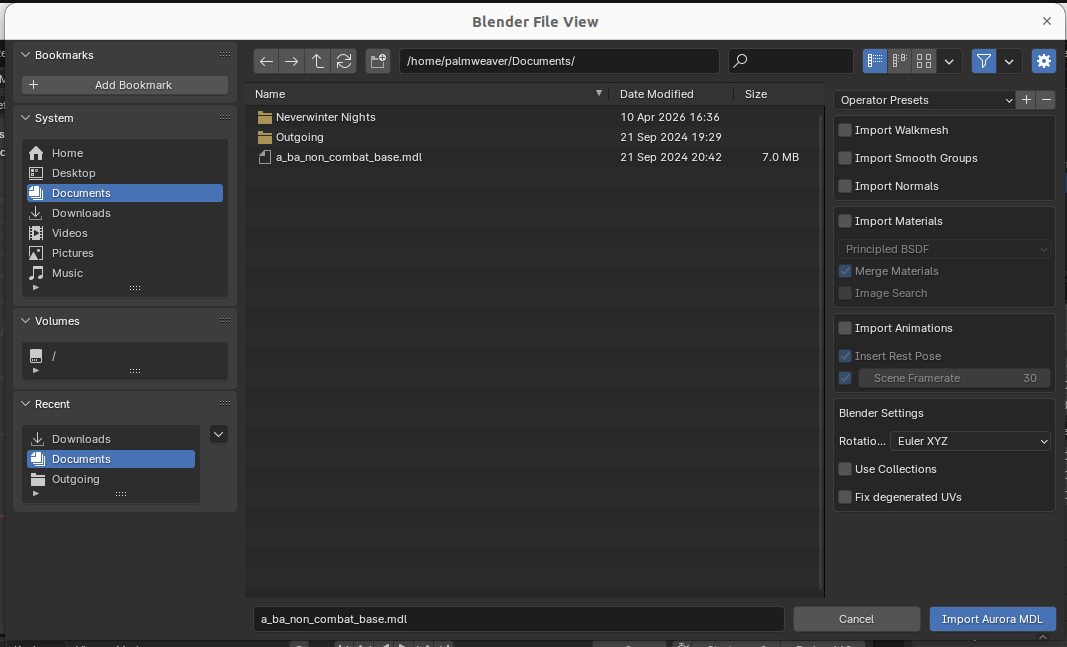
Once you've installed the plugins, you'll need a base animation model like a_ba_non_combat.mdl - import that into Blender. When importing your base model, deselect import Walkmesh, Smooth Groups, Normals, Materials, and Animations
Palmweaver,: Once you've got your 'clean slate' model of a player character setup in Blender, save. Because if you start turning out animations, you'll want to use that save file as a starting template. Then, under the 'Objects' tab on the right, scroll down to the section called 'Aurora Utilities' and click 'Generate Armature'. This will add an animation rig to the model - and we'll use that to imprint the animation on.
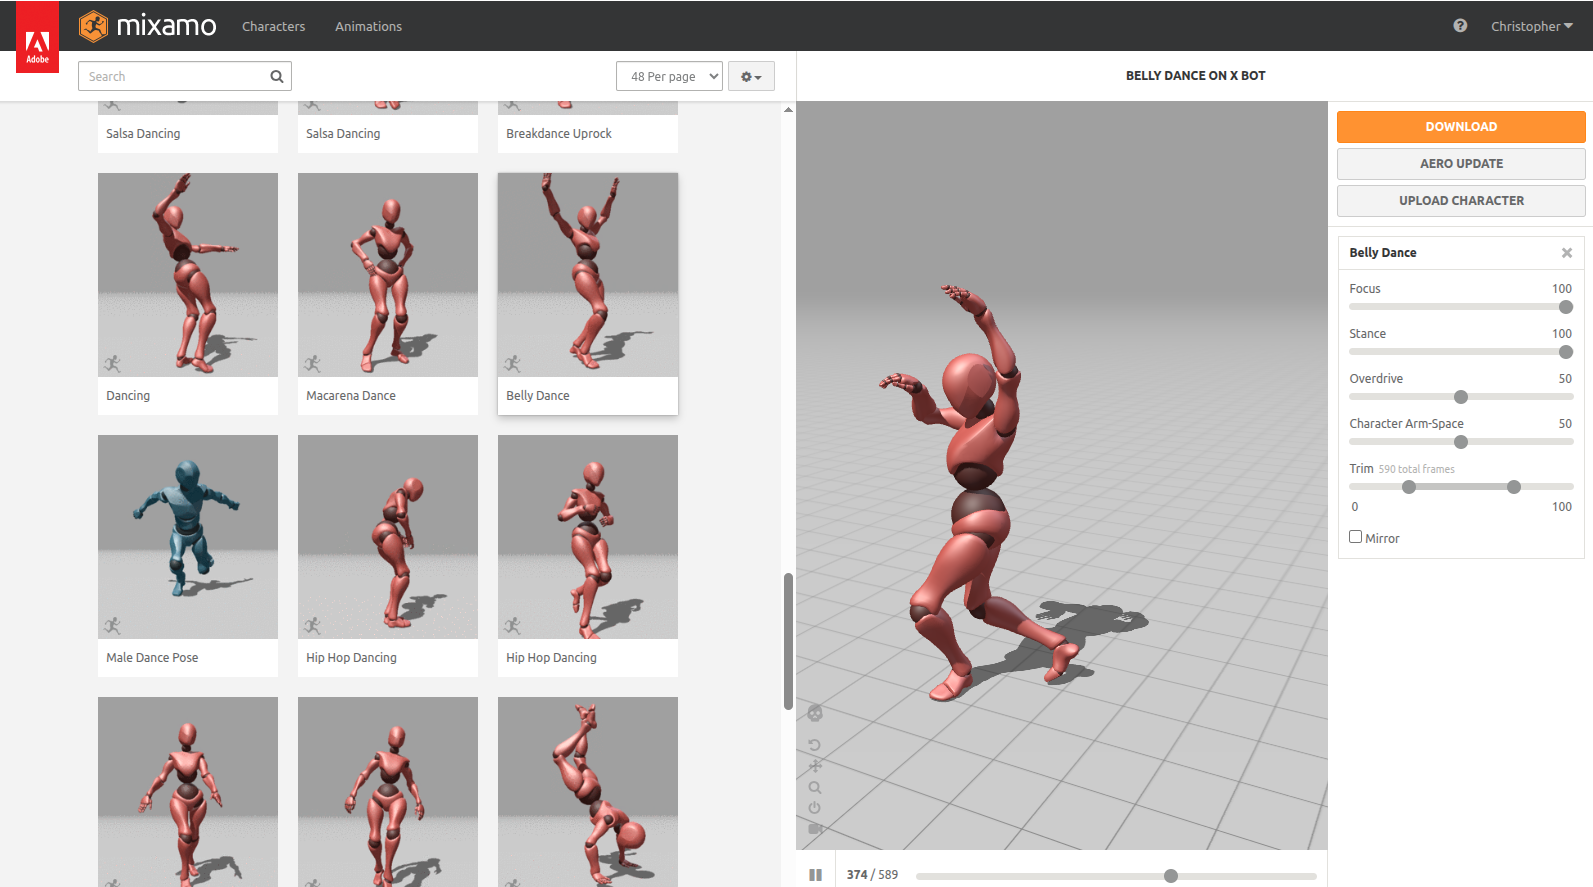
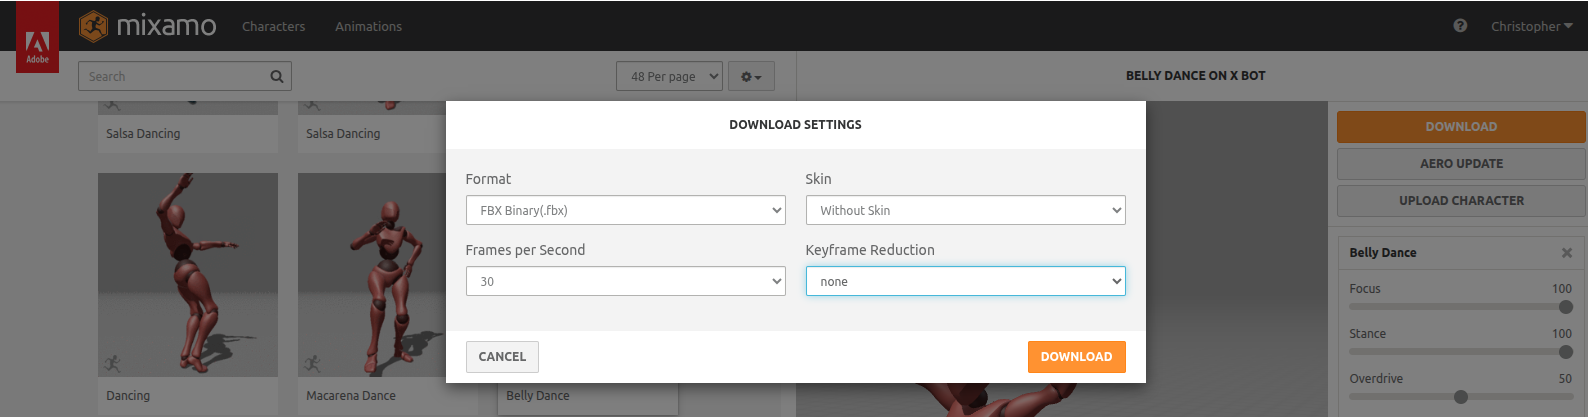
Next, find an easy to import animation (preferably free so you can practice with no pressure). FBX animations work pretty well for this without any other major steps. Adobe has a free FBX mocap library called Mixamo (https://www.mixamo.com/) that has a very large library as long as you make a free account. I've also used animations from the Carnegie Mellon University Motion Capture Database (https://mocap.cs.cmu.edu/) and purchased a couple online from animation retailers.
Import your FBX animation into Blender, and now you'll have a whole separate armature in the view window, and if you hit the play button at the bottom you should see the second armature playing the imported animation.

Depending on your animation source, things and get a bit off the rails here. Some are saved at a different scale, some are facing backwards, etc. If your imported animation armature isn't lined up and scaled correctly, then you'll need to fix that before proceeding. Scaling issues you can fix when you import your animation - there's a transform scale slider at the right in the import window. If it's facing the wrong way you'll need to re- orient the animation armature to match your NWN model armature.
Mixamo animations are good example of this - their model root is oriented 180 degrees from the NWN model - so it shows facing backwards. So you'd need to flip it forward before you retarget the animation.
Before we get to the actual retargeting step, it's important to include a note about default poses. Most game engines use models that have a 'default pose'. You've probably seen it in plenty of games when something goes wrong - the classic 'T-pose'. This is an animation reference as to what the origin position should be on every part of an animated rig, that way any animation knows where to start from and what it's origin is as a frame of reference.
Neverwinter Nights doesn't really use a standard 'Default Pose'. Well, it sorta does, but that's just what the default standing pose is in the animation library of it's models. It's a somewhat relaxed standing pose that isn't symmetrical, and has the left foot a bit out in front. Critically, it's what almost all character animations return to so that they don't seem out of place when you stop doing an action that requires animation.
If you're using an animation pack that changes your default stance (Like a set of fighting style animations) then the origin the character model returns to at the end of an animation may be different too.
All that being said, almost all animations you'll find online for importing into NWN WILL have a default pose, either a T-Pose, an A-Pose, or some other established origin for the position of the bones. And it won't match up with the Aurora Pose, so your retargeted animation may turn into a wonky mess. There's a way fix that though, but just keep that in mind during the process - the origins of the armature usually won't line up correctly by default.
Retargeting:
Open the tab for the Rokoko Plugin, and select the Retargeting subtab. You'll see entry fields for both the 'Source' and 'Target' armatures. The imported animation goes into the source, Aurora model into the Target. Then you want to click 'Build Bone List'.

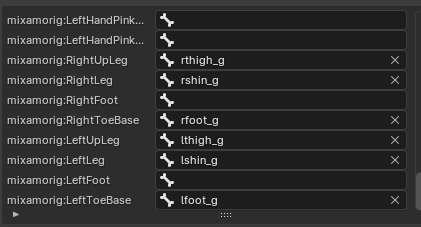
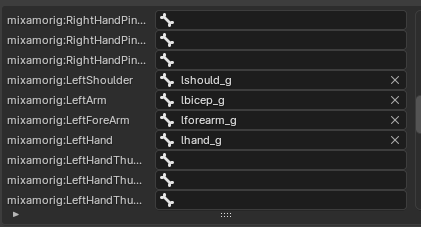
Sometimes you get lucky and most of the bone names match well enough to autofill all the entries. Most of the time that's not the case, and you'll have to match all or some of them up to their correct counterparts. Some of it you'll not even need to match up like finger bones. Some of it will take some trial and error as imported animation rigs may have different naming conventions. Often, you have to match 'spine1' or 'spine2' to the torso. Also keep in mind that 'hips' and 'pelvis' may not match up right depending on your source animation.
Once you've matched up the bones you can hit the 'Retarget' button at the bottom to copy the animation from one armature to another. If you're not adjusting the starting pose, you can select either current or rest pose when you retarget - and check which one seems closer.
Most of the time, it's a close enough match from the legs down, since NWN's starting pose isn't that different there. But the arms for a lot of animations will go haywire at this point since the animations didn't line up to begin with.
There are two different ways to address this:
1: You can switch to the graph editor and edit the 4D axises manually. While this is usually the 'Hard Mode' choice (Hope you like quaternions), if you're already familiar with Blender animation and the adjustments are minor it might be the way to go.
2: You can edit the first frame of the animation to better match the starting pose for the Aurora Armature. It can be exacting, but it's usually just the left and right bicep, forearm and hands. Once you've got them matched up pretty close, select 'Current' pose then retarget the animation. You can delete the first frame afterwards if needed.
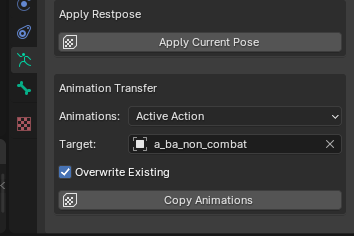
Once you've got the animation correctly transferred from one armature to the other, you can go over to the Data menu under the Aurora section again to transfer the animation to the actual parts of the player that move.
Now before you export your animation, there can be a couple of gotchas.
For one, often the model seems to sink into the ground, or float a bit off of it. This usually means the origin of the animation is a bit off on it's Z axis. Unfortunately, just matching up the model ahead of time often doesn't work for this, so you'll have to go into the graph editor and edit the location of the origin node for all of the frames of the animation. Fortunately, this is often a lot easier than trying to adjust whole limbs - it's only a point with no actual rotation that needs moved up or down a bit.
Another issue can be that many animations move around while playing, like a dance animation that may move side to side and forward. Where the animation ends might not be in the same position as it starts, and that will cause a janky 'snap back' effect at the end. If the amount needed to return to the origin is small enough, you can use the same method as above (using the graph editor) to move parts of the animation origin to match it's end. It's an advanced tactic, but it can dramatically increase the range of animations you can import into NWN.
Once you've got all that squared away, you can export your .mdl file. I'd pick a name for it that matches the animation you made, instead of a_ba_whatever. This is because animations exported from Neverblender often fail (it seems to mess up the headers somehow), but we can extract the animation from the exported file in ASCII format.
You see, uncompiled .mdl files are written in plain text, so once you've gotten a bit used to their format you can just copy the section of your new animation from the file you exported from Blender and then paste it into your already working .mdl file where you want the animation stored.
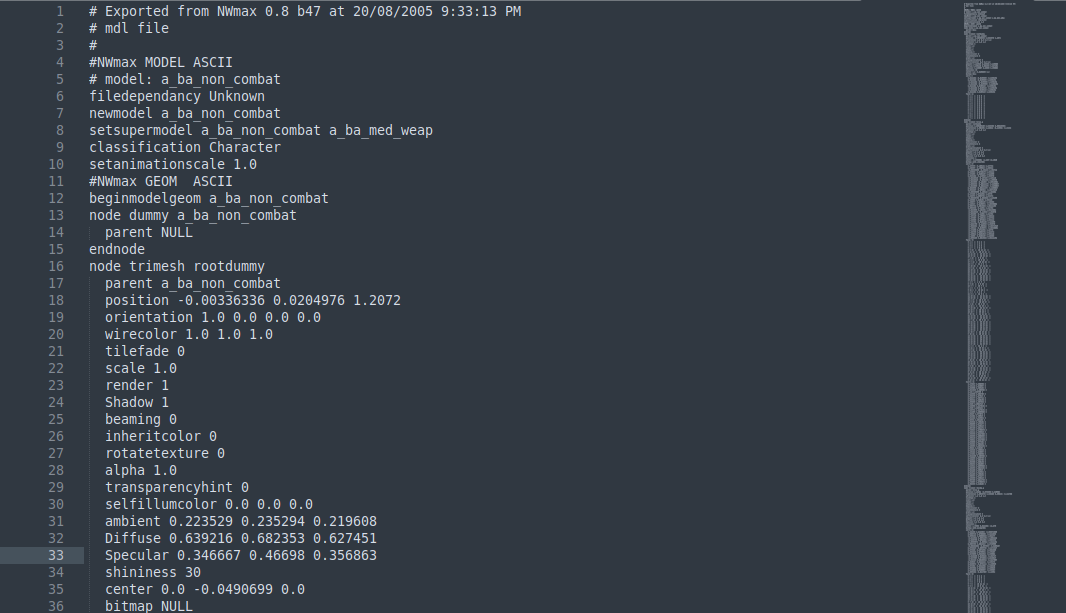
I still use a template made from NWmax, even though I never use that program. But NWN accepts that template without any errors, so I just paste my new animation into it.
To aid in following this walkthrough, I've created a video that goes through the entire process from start to finish and uploaded it to YouTube: